

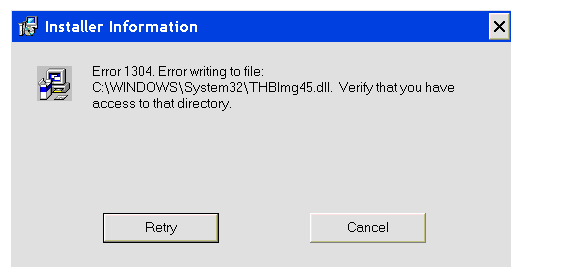
With the increased efficiency in techniques and technology, QuickBooks has also grown as the most efficient accounting software ,QuickBooks offers numerous features like creating invoices, making payment, maintaining reports etc. But at times you may encounter several errors. QuickBooks Error code C=1304 is one of such errors and this error occurs with a popup which says “Error writing to file (file name)”.
What is QuickBooks Error code C=1304?
Error code C=1304 is a C series error. This error usually occurs when there is an issue with the CD or CD drive that consists of your QuickBooks setup file. Also, QuickBooks error code C=1304 might come up due to damaged CD.
What causes error Code C=1304?
- An issue with the CD drive can cause this error.
- The error would have occurred if the CD is damaged.
- The CD driver might not be functioning properly.
- There might be a damage in the Microsoft.net component.
How can QuickBooks error code C=1304 be resolved?
Method 1: Using installation CD to replace Installation files.
Step 1:First of all you have to replace the installation files from the CD to the hard drive and for this:
- You have to insert the QuickBooks CD into the CD drive and when the installation process begins, you have to click on QUIT.
- Now, you have to reach to the hard drive and then create a new folder to paste the files.
- From the left pane of the window, you need to click on Desktop.
- Rename the new folder which appears.
- Again from the left pane, make a right click on the QuickBooks CD and then click on the option of Explore.
- Then follow the same process for other third party folders, and setup.exe file in the right pane.
- Now you need to press and hold the ctrl key and then select the option of folders and file.
- Now you have to make a right click on the highlighted folder and choose the option of Copy.
- Once this is done, you have to reach back to the QuickBooks folder and then make a right click on this folder and click on Paste.
Step 2- Now reach back to the folder which was copied earlier, and choose the option to install QuickBooks.
- Now, you have to open the QuickBooks folder where the files were copied.
- From here you have to select the option of setup.exe file and make a double click to start with the process of installation. You just have to follow the on-screen steps and complete the installation process.
Method 2: By advanced Computer user solution.
- You have to first login as the system administrator.
- Once you login as admin, you have to click on the Start button.
- From here, you have to select the option of programs and then reach the tab of System tools.
- From there reach to the Accessories and then you have to click on the Restore Settings.
- Now from this growth window, you need to select the option of ‘Restore my computer to an early mature’.
- Next, you have to reorganize the reduction from the ‘On the list, click a modernize reduction list’ and then you have to click on Next. Once the process of restoration is complete, you have to restart your system.
Method 3: Scanning the system with the reimage repair tool.
- This will start the installation process, after this a User Account control (UAC) will come, you have to click on YES.
- On the welcome screen which appears, you have to ensure that all the checkbox remains unmarked so as to allow the repair tool to scan.
- To proceed further, you need to click on the install tab.
- Now the Reimage tool will be installed.
- It will begin with the preliminary scan.
- Once this scan is completed, you will find the damaged areas of your PC and then you can repair them.
- Now you have to click on the Start Repair button in the bottom right corner. Finally, you have to restart your system.
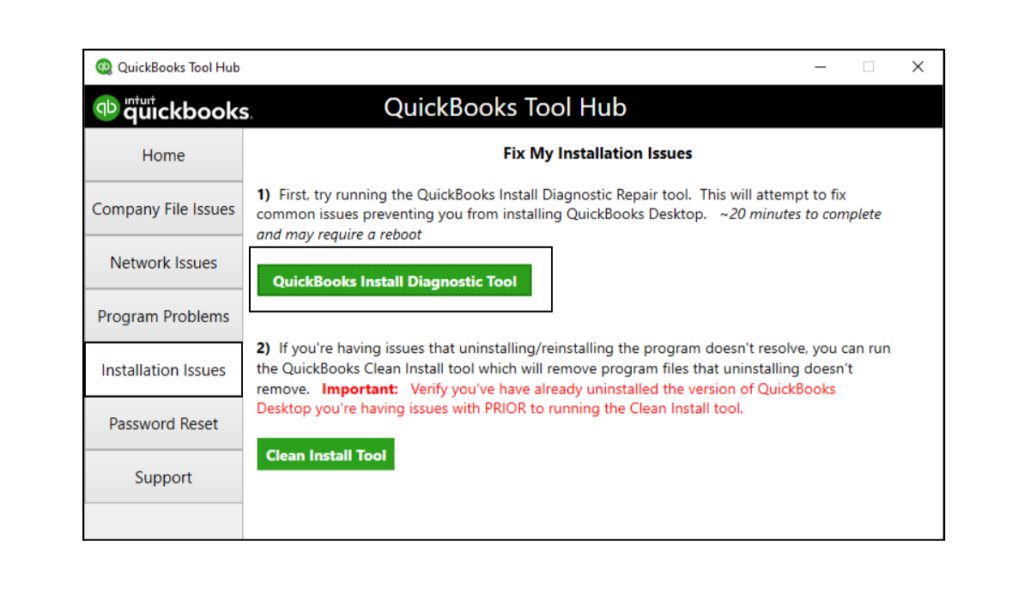
Method 4: Using QuickBooks install diagnostic tool
- To begin with, you need to download QuickBooks tool hub followed by running QuickBooks install diagnostic tool. This tool will help in fixation of .NET framework, MSXML and C++ related issues in Quickbooks.
- After this, login to Computer with the Administrator account.
- Now, install the QuickBooks tool hub and
- Now after getting the tool installed and opening it from the Quickbooks. Select installation issues and run QuickBooks install diagnostic tool.
Method 5: Reinstalling Microsoft .NET framework
- On the computer, you need to press windows+R.
You need to open the control panel by typing Control panel in the run box. - Now, click on the uninstall option.
- You will see the list and from the list you have to select Microsoft MSXML and C++ components.
- Once it gets uninstalled, restart the computer. Finally, you have to download and then install the components from the MIcrosoft website once again.

Hopefully, implementing these troubleshooting methods would have fixed the QuickBooks Error code C=1304. In case you are still facing any issues then you can call QBSsolved at +1(888) 910 1619 and our team of experts will help you to fix issues arising out of QuickBooks error code C=1304.
Also Read:
How to Fixed QuickBooks Error Code C=88
How can QuickBooks Error Code C=19 be fixed?